
Imagine a situation: you’re going to prepare a help system for a website. You suggest creating a help that has the look and feel of the website itself. The customer is happy with that, and you’re eager to start as you have MadCap Flare 11 or 12 with that cool TopNav output. However, the website uses custom fonts, and you need to use them in your help system.
What would you do?
The most obvious step is to install the custom font to your machine—in my case, Open Sans Light—and use it Flare project’s stylesheets. I did just that, and everything seemed to go smoothly until my product owner asked me why I kept using Times New Roman. Wait, what? So, I found out that Open Sans Light (well, and any other custom font) is shown in the help system only if it’s installed on the viewer’s machine – not the case of my PO, obviously.
So how to fix this?
What I did was googling. A lot of googling. I found an invaluable article by Ed Marsh with a detailed explanation on how to use custom fonts in Flare projects, and that saved my life, sanity, and consistency between the product and the help (and you can imagine how uneasy an InfoDev becomes when having inconsistencies). After the initial shock (“Why does it have to take so much work?”), I started experimenting with CSS, and then shortened the workflow suggested in the article a bit.
Meeting prerequisites
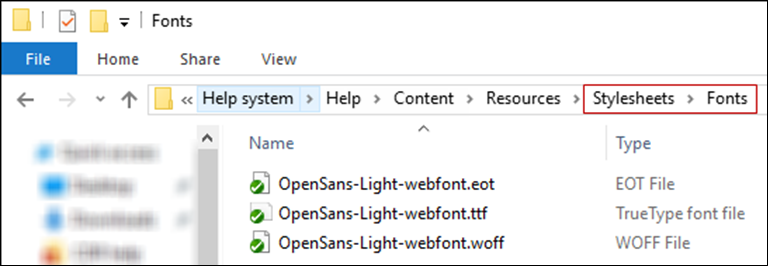
First, I analyzed which web browsers will be mostly used to view my online help system. I checked the requirements on browser compatibility for the product itself and found out that the needed browsers are IE9 and higher, Google Chrome, and Mozilla Firefox. I downloaded all the formats of my custom font: .eot, .ttf, and .woff. For more information about browser vs. font compatibility, read here.
Then I followed Ed’s advice about storing the fonts in the project’s Stylesheets folder: created the Fonts folder and moved the font files there.
And then the actual magic began.
Editing the stylesheets
- Open your main project stylesheet in Notepad++ or any other text editor.
- Create a new @font-face class and specify your font files as its sources. In my case, it was as follows:
 @font-face {

font-family: 'Open Sans Light';

src: url('Fonts/OpenSans-Light-webfont.ttf') format('truetype');

url('Fonts/OpenSans-Light-webfont.eot');

url('Fonts/OpenSans-Light-webfont.woff')

} - Create a separate class for each custom font. You can use as many source font files as needed, just make sure that fonts you use are free or properly licensed.
- In the whole stylesheet, change the font-family property to the newly created one (‘Open Sans Light’) for the necessary selectors. For example, in headings:
h1 {

font-family: 'Open Sans Light';

font-style: normal;

margin-bottom: 8px;

margin-top: 20px;

padding-bottom: 10px;

font-size: 27pt;

color: #c01504;

line-height: normal;

} - Save the stylesheet and repeat the steps 2–4 in all the other stylesheets where the custom font is needed, for example, for tables and Home page.
- Open your Flare project, go to HTML5 Target > Advanced, clear the Exclude content not linked directly or indirectly from the Target option, and then build a target.
Ta da! The font files are copied into the Output folder so that they always are available, and your custom font is applied in all the right places.
Or isn’t it?
Configuring the skin
Oh wait, the skin still looks the same. If you need to apply a custom font in your help skin, things get trickier as there is no skin stylesheet in project’s Resources folder and the stylesheet you edited for your topics doesn’t affect the skin elements—menus, search bars, and search results. The .css file that applies to the skin lives in the Output folder and is regenerated each time you build a project, which means that any changes you make in that file before building a target will be lost.
The only way to change the font in the skin stylesheet—at least, known to me—is to replace the CSS from the Output folder with the edited after each time you build a target. I know this can be bothersome but at least you will have your fonts displayed properly and your customers satisfied.
- Build a target, and then go to Output > … > Skins > Fluid > Stylesheets.
- Open the Styles.css file in Notepad++ or any other text editor.
- Repeat the steps 2–5 from the previous procedure and save the changes.
Now, if you open your output, you’ll see your fonts in place.
- Сopy the edited Styles.css file and keep it in a folder that cannot be rewritten by building a target.
Now, each time you build a target, replace the newly generated Styles.css with your edited one, and your fonts will look as they should without any Times New Roman or Arial popping up here and there.
One last thing is to test your output in all the required browsers to make sure everything looks fine and leave a comment whether this article was helpful for you 🙂

Well that made my day! I’m so glad you found my post helpful. Amazing it’s still relevant six years after I posted it!
Ed.
LikeLike